Ever wished you could finish your garden or home projects faster and with less effort? When you pick up a handheld electric sprayer, you get a tool that makes watering, pest control, and even paint jobs simple. Many users love how the sprayer saves time and reduces physical strain. You can adjust the sprayer for fine misting on delicate plants or switch it up for even paint coverage. With just one handheld electric sprayer, you spray weeds, water flowers, and paint fences—all with the same tool. The sprayer works well for both small and large tasks. You do not need fuel, and cleaning the sprayer is easy. The sprayer’s design gives you even, consistent coverage, whether you spray your garden or paint your deck. You will find the sprayer easy to use and versatile, making it a favorite for many DIY projects.
Key Takeaways
Handheld electric sprayers help you work faster and easier. They give a steady and even spray for watering, pest control, and painting.
Always charge the battery all the way before you start. Fill the tank slowly and carefully. Pick the right nozzle and spray pattern for your job.
Move the sprayer in slow, even strokes. Make sure the sprays overlap a little. Hold the sprayer close to your work, but not too close. This helps you not waste spray and stops drips.
Clean your sprayer well after every use. This keeps it working right. Store it in a dry place. Take out the battery before you put it away.
Stay safe by wearing gloves, goggles, and a mask. Never use the same sprayer for both paint and garden chemicals.
Handheld Electric Sprayer Basics
Features and Benefits
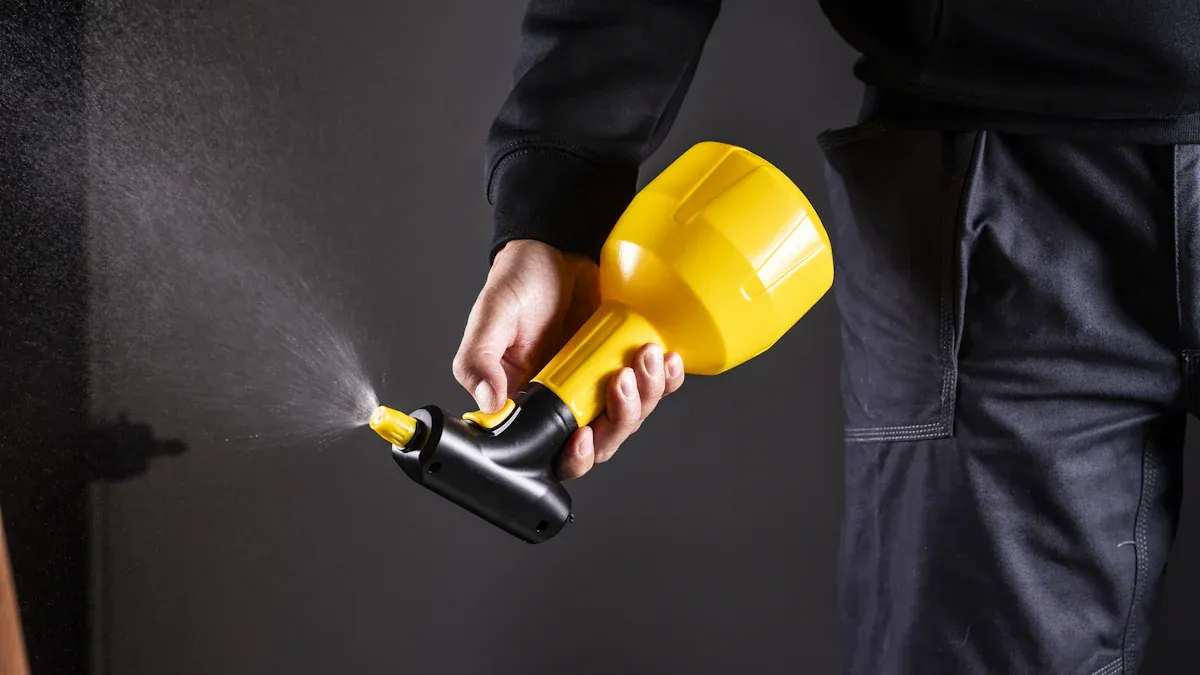
A handheld electric sprayer lets you finish projects fast. You do not have to pump it by hand. The sprayer runs on a battery. You press a button to start spraying. This makes it simple to spray your lawn, flowers, or paint your fence.
Here is a table that shows how handheld electric sprayers and manual sprayers are different:
Feature |
Handheld Electric Sprayer |
Manual Sprayer |
Operation Method |
Battery-powered, no manual pumping |
Needs manual pumping |
Pressure Consistency |
Steady, even spray |
Pressure changes, can be uneven |
Ease of Use |
Less effort, good for large garden or lawn areas |
More work, best for small spots |
Coverage Capacity |
Covers more ground fast |
Slower, best for small garden jobs |
Maintenance |
Needs battery care, more parts |
Simple, easy to fix |
Mobility |
Heavier, but easy to move |
Lighter, no battery needed |
You save time and energy with a handheld electric sprayer. You can paint your fence or deck in just a few minutes. You can treat your lawn with fertilizer, pesticide, or herbicide without getting tired. The sprayer gives an even spray, so your yard looks nice. You can use it for many things, like spraying bugs or watering plants. Some models, like the Wagner Flexio 590, are quiet and simple to use. Others, like the HomeRight Super Finish Max, work for both painting and garden jobs.
Tip: Pick a sprayer with padded straps or a balanced shape. This helps you carry it longer when you spray your yard or garden.
Essential Tools and Materials
You need a few things to use your handheld electric sprayer. Here is a checklist:
The handheld electric sprayer
Battery and charger
Paint for fences, decks, or furniture
Fertilizer for your yard or garden
Pesticide or insecticide for plants
Herbicide for weeds
Water for cleaning or watering
Cleaning tools (brush, mild soap, water)
Safety gear (gloves, mask, goggles)
Some sprayers use a diaphragm pump, which works with many sprays. Others use a piston pump, which is good for water-based paint or yard treatments. Always clean your sprayer after you use it. This keeps it working well for your next project.
If you do not want to mix chemicals, you can buy more than one sprayer. This keeps your paint, fertilizer, and pesticide separate. Most handheld electric sprayers cost between $50 and $345, so you can find one that fits your budget.
Setup and Operation
Charging and Filling
Before you start any garden or lawn project, you need to get your sprayer ready. Most handheld electric sprayers use a rechargeable battery. Plug the charger into an outlet and connect it to the battery. Wait until the battery is fully charged. Some models have a light that turns green when ready. Always check the manual for your sprayer to see how long charging takes.
Once the battery is charged, insert it into the sprayer. Make sure it clicks into place. Now, you can fill the tank. Remove the tank lid and pour in your chosen liquid. You might use water for your garden, fertilizers for your lawn, or even paint for your fence. If you plan to spray pesticides or herbicides, always read the label and follow the mixing instructions. Use clean water and mix chemicals well. Never fill the tank above the max line. This helps prevent spills.
Tip: Wear gloves and goggles when handling chemicals. If you switch between paint and garden treatments, clean the tank well to avoid mixing products.
Adjusting Nozzle and Settings
The nozzle is the part of the sprayer that controls how the liquid comes out. You can change the nozzle to get different spray patterns. For example, use a wide-angle nozzle for large lawn areas or a fine mist for delicate garden plants. If you want to paint a fence, pick a fan spray for even coverage. Some nozzles twist to adjust the pattern. Others need you to swap out the tip.
Here are some best practices for adjusting your sprayer:
Choose a standard nozzle for most garden jobs.
Use a reduced-diameter nozzle for tight spots.
Pick a high-pressure nozzle for strong flow on tough stains or thick paint.
Select a wide-angle nozzle for broad lawn or fence coverage.
Try an adjustable nozzle for flexible spray patterns.
You can also change the pressure settings. Start with low pressure and increase it if needed. This helps you avoid splattering paint or wasting garden chemicals. Always check for leaks and make sure all parts are tight before you start.
Here are some common spray patterns and when to use them:
Spray Pattern |
Best Use |
Flat Fan |
Watering rows of garden plants, cleaning |
Cone |
Watering rings of plants, gentle spraying |
Full Pattern |
Cleaning hard surfaces, robust plants |
Jet |
Cleaning, but not for delicate plants |
Mist |
Delicate plants, seedlings |
Shower |
Watering beds, multiple plants |
Soaker |
Root soaking, deep watering |
Solid Stream |
Targeted cleaning or watering |
Note: Always match the nozzle and spray pattern to your project. For example, use a mist for seedlings and a fan for paint jobs. Regularly clean the nozzle to keep the spray even.
Spraying Techniques
Now you are ready to use your sprayer. Good technique makes a big difference, whether you are painting a deck or treating your lawn. Hold the sprayer about 6 to 12 inches from the surface. Keep your arm steady and move in straight lines. For paint, start moving your arm before you pull the trigger. Release the trigger after you finish the stroke. This helps you avoid drips and thick spots.
Overlap each pass by about 50%. This means you spray over half of the last area you covered. It gives you even coverage and stops gaps. When you spray your garden or lawn, use regular, parallel strokes. For fences or furniture, use a fan spray and keep the sprayer at a 90-degree angle to the surface.
If you want to avoid mistakes, here are some tips:
Test the sprayer on scrap material before you start your main project. This is a great way to practice using a paint sprayer.
Hold the sprayer closer for a thicker coat, farther for a lighter coat. Do not hold it too far, or you will waste paint or chemicals.
Wipe the nozzle often to prevent clogs.
Spray corners and edges first, then move to larger areas.
Use the lowest pressure that still gives good results.
Safety First: Always wear gloves, a mask, and goggles. This protects you from paint fumes, fertilizers, pesticides, and herbicides. Check your sprayer for leaks before you begin. If you use different chemicals, keep separate sprayers or color-code them to avoid mixing.
Many beginners make mistakes like picking the wrong nozzle, not calibrating the sprayer, or spraying in windy weather. Always check the weather before you spray your lawn or garden. Spray on calm days for best results. Clean your sprayer after each use. This keeps it working well and ready for your next paint or garden project.
Remember: Prep before using a paint sprayer is key. Clean the surface, mask off areas you do not want to spray, and stir your paint well. This helps you get a smooth, even finish every time.
Garden and Home Applications
How to Use a Garden Sprayer
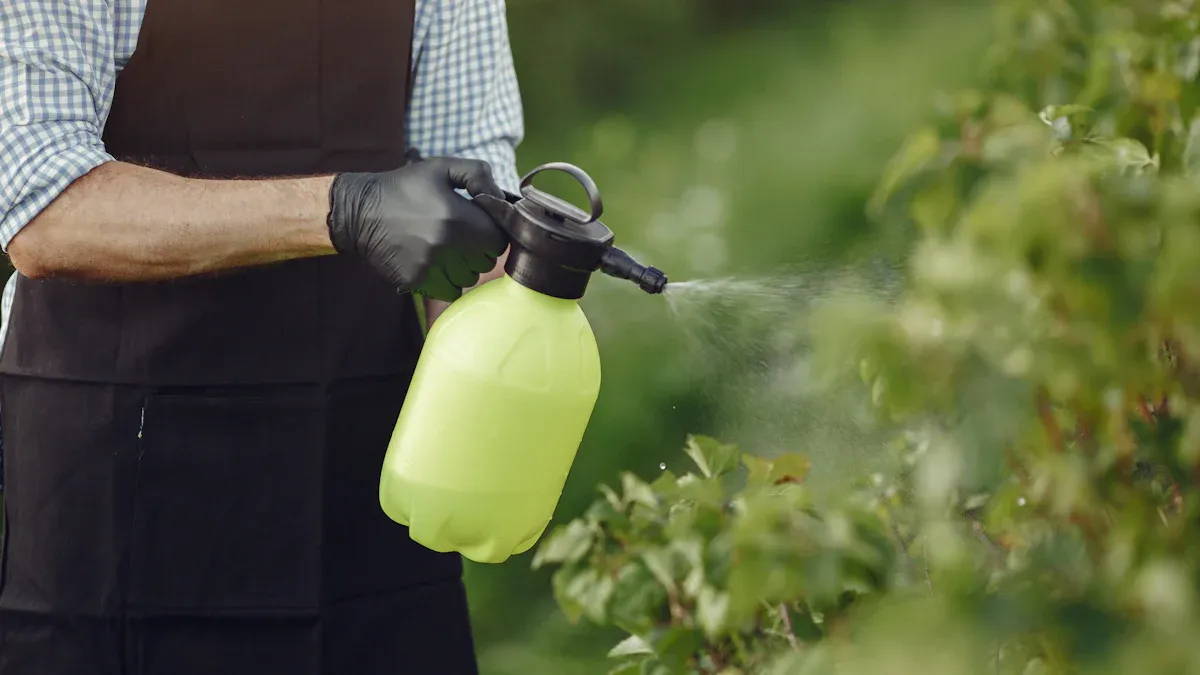
You can tackle many garden jobs with a handheld electric sprayer. These tools work great for spot treatment and small garden areas. If you want to know how to use a garden sprayer, start by checking all parts for leaks. Fill the tank with water, then add fertilizers, herbicides, or pesticides as needed. Shake the sprayer to mix everything well. Top off with more water if needed. Always wear gloves and goggles when handling chemicals.
Follow these steps for your garden spraying needs:
Assemble the sprayer and check for damage.
Add the right amount of product for your lawn or garden.
Secure the lid and shake to mix.
Adjust the nozzle for a fine mist or direct stream.
Spray in straight lines, keeping the nozzle about a foot above plants.
Overlap each pass to avoid missing spots.
Record what you sprayed and when.
Handheld sprayers are perfect for indoor plants, balconies, and small flower beds. You can use them for applying lawn and garden products with precision. Their lightweight design makes them easy to carry, even for long sessions.
How to Use a Paint Sprayer
If you want to know how to use a paint sprayer for fences or furniture, you need to prepare first. Strain the paint to remove lumps. Pick the right spray tip for your paint type. Practice on scrap wood to test the spray pattern. Adjust the pressure until the paint comes out smooth.
Here’s how to use a paint sprayer:
Fill the tank with paint.
Select the correct nozzle for your project.
Hold the sprayer 10 to 12 inches from the surface.
Move your arm in steady, overlapping strokes.
Use the paint sprayer in calm weather to avoid wind-blown paint.
Wear gloves, goggles, and a mask for safety.
Shield nearby areas with drop cloths.
You can use the paint sprayer for latex, oil-based, or stain projects. Airless sprayers handle thick paint, while HVLP sprayers work best for thin paint or detail work. Always clean the paint sprayer right after you finish.
Cleaning and Maintenance
To keep your sprayer working well, clean it after every use. Fill the tank with hot water and a little soap. Spray the water through the system to clear out leftover paint or chemicals. For stubborn paint, use denatured alcohol or mineral spirits. Take apart the nozzle and tip, then scrub with a soft brush.
Store your sprayer in a dry place. Remove the battery and let all parts dry before putting them away. Check hoses and seals for cracks. Lubricate moving parts if needed. Always follow the manual for storage tips. A clean sprayer lasts longer and works better for every garden or paint job.
Safety and Troubleshooting
Safety Tips
You want to safely use a garden sprayer every time. Safety comes first, whether you spray paint, water, or chemicals. Here are the most important tips to keep you safe:
Only you should be in the room when you use the sprayer. Wear gloves, goggles, and a mask.
Leave the area right after spraying. Wait as long as the label or manual says before going back in.
Open windows and doors after you finish. Fresh air helps clear out any leftover spray.
Wipe or rinse any surfaces that got sprayed, following the product label.
Use extra care in kitchens or places where kids play. Only use products that are safe for those areas.
Learn how to use your sprayer and safety gear before you start.
Always use chemicals and cleaners that work with your sprayer. Follow the instructions from the maker.
Wash your hands well after you finish and after you take off your gloves.
Remember, some sprays can bother your skin, eyes, or lungs. Protect yourself.
Never spray in a room with other people or pets. Keep kids and people with asthma away from the area.
Tip: Always check the label on your sprayer and the product you use. Some chemicals need special care.
Common Issues
Sometimes your sprayer does not work as it should. You might see clogs, leaks, or uneven spray. Here is how you can fix these problems:
For clogs and leaks:
Make sure the chemical you use will not hurt the sprayer seals.
Look at the nozzle. If it is clogged, use a pin to clear it.
Check the filter mesh. Clean it if it looks dirty.
Open the sprayer and look at the hose near the pump. If it is twisted, fix or replace it.
Put the sprayer back together and test it.
For cleaning:
Empty the tank and throw away leftover chemicals safely.
Fill the tank halfway with water, shake, and empty it.
Add water and a few drops of dish soap. Shake and spray this through the sprayer.
Rinse with clean water.
Take off the nozzle and filters. Clean them with a brush or pin.
Let all parts dry before you put the sprayer away.
Check hoses and seals for cracks or leaks.
For uneven spray:
Clean the spray tip if you see dried paint or buildup.
Make sure you use the right pressure setting. Adjust if needed.
Use the correct tip size for your job.
Replace the spray tip if it looks worn out.
Thin thick liquids if the spray looks rough.
Note: Regular cleaning and checking your sprayer keeps it working well. If you see leaks or uneven spray, fix them before your next project.
Problem |
Quick Fix |
Clogged nozzle |
Clean with pin or brush |
Leaking sprayer |
Check seals, hoses, and tighten |
Uneven spray |
Clean tip, adjust pressure, replace tip |
A handheld electric sprayer helps you finish projects quickly. It gives even coverage and saves you time. You can use it for many things, like painting or treating plants.
Clean your sprayer often and check the seals. Store it in a dry spot to make it last longer.
Many people use sprayers to paint cabinets and reach small spaces. They also use them to get smooth finishes.
Be careful, read the manual, and try new ways to use your sprayer for great results!
FAQ
How long does the battery last on a handheld electric sprayer?
Most batteries last 30 to 60 minutes on a full charge. You can finish small projects without stopping. For bigger jobs, keep a spare battery ready.
Can I use the same sprayer for paint and garden chemicals?
You should not. Paint and chemicals can mix and cause problems. Use one sprayer for paint and another for garden work. This keeps your projects safe and clean.
What should I do if my sprayer gets clogged?
First, turn off the sprayer. Remove the nozzle and rinse it with water. Use a small brush or pin to clear any debris. Put the nozzle back and test the sprayer.
Is it safe to spray indoors?
You can spray indoors, but open windows and doors for fresh air. Always wear a mask and goggles. Keep kids and pets out of the room until the spray dries.
How do I store my handheld electric sprayer?
Clean the tank and nozzle after each use. Let all parts dry. Remove the battery and store it in a cool, dry place. Keep the sprayer away from direct sunlight.